
Air leaks can waste a lot of your energy dollars. Whether leaks are letting hot air inside during the warmer months or letting in drafts during the cooler season, one of the quickest energy- and money-saving tasks you can do is caulk, seal and weather strip all cracks and large openings to the outside. Air takes the path of least resistance, so you should aim to seal the big holes first.
We've laid out some simple instructions for sealing most of these air leakage pathways -- but if you're sealing heating and cooling ducts, we suggest contacting contractor that's familiar with the different air sealing methods often best done with ductwork.
Most caulking compounds come in disposable cartridges that fit in half-barrel caulking guns, most with an automatic release. Some pressurized cartridges do not require caulking guns.
When deciding how much caulking to purchase, consider that you'll probably need a half-cartridge per window or door and four cartridges for the foundation sill. Caulking compounds can also be found in aerosol cans, squeeze tubes, and ropes for small jobs or special applications -- but usually only lasts a few years.
The average tube of white latex window and door caulk is inexpensive; specialty colors and types typical cost somewhat more. A caulk gun pays for itself because you can use it for re-caulking jobs.
PROJECT LEVEL
EASY
ENERGY SAVINGS
10%-20%
TIME TO COMPLETE
1 - 2 HOURS
OVERALL COST
$3 - $30
Before You Start
Determine if a professional energy audit is right for you.
- Or you can detect air leaks using these Energy Savers tips for determining where your home has air leaks.
- Consider whether caulking or weatherstripping will better suit your needs.
Shopping List
- Caulk for sealing windows and doors (latex or silicone-based)
- Caulk gun
- Putty knife or large screwdriver (for removing any old caulk)
- Paper towels or a rag for cleanup
- Flashing material for larger openings (e.g., thin board sheathing, sheet aluminum, etc.)
Step-by-Step Instructions
-
For good adhesion, clean all areas to be caulked.
Remove any old caulk and paint, using a putty knife or a large screwdriver. Make sure the area is dry so you won't seal in moisture.
-
Prep the caulking gun (if you're using one).
Cut the tip of the cartridge of caulk at a 45-degree angle and insert the tube in the gun. If you’ve never used a caulking gun, take this time to do a "test caulking" on a newspaper or paper towel so you have a good sense of what to expect before taking your project to a more conspicuous door or window.
-
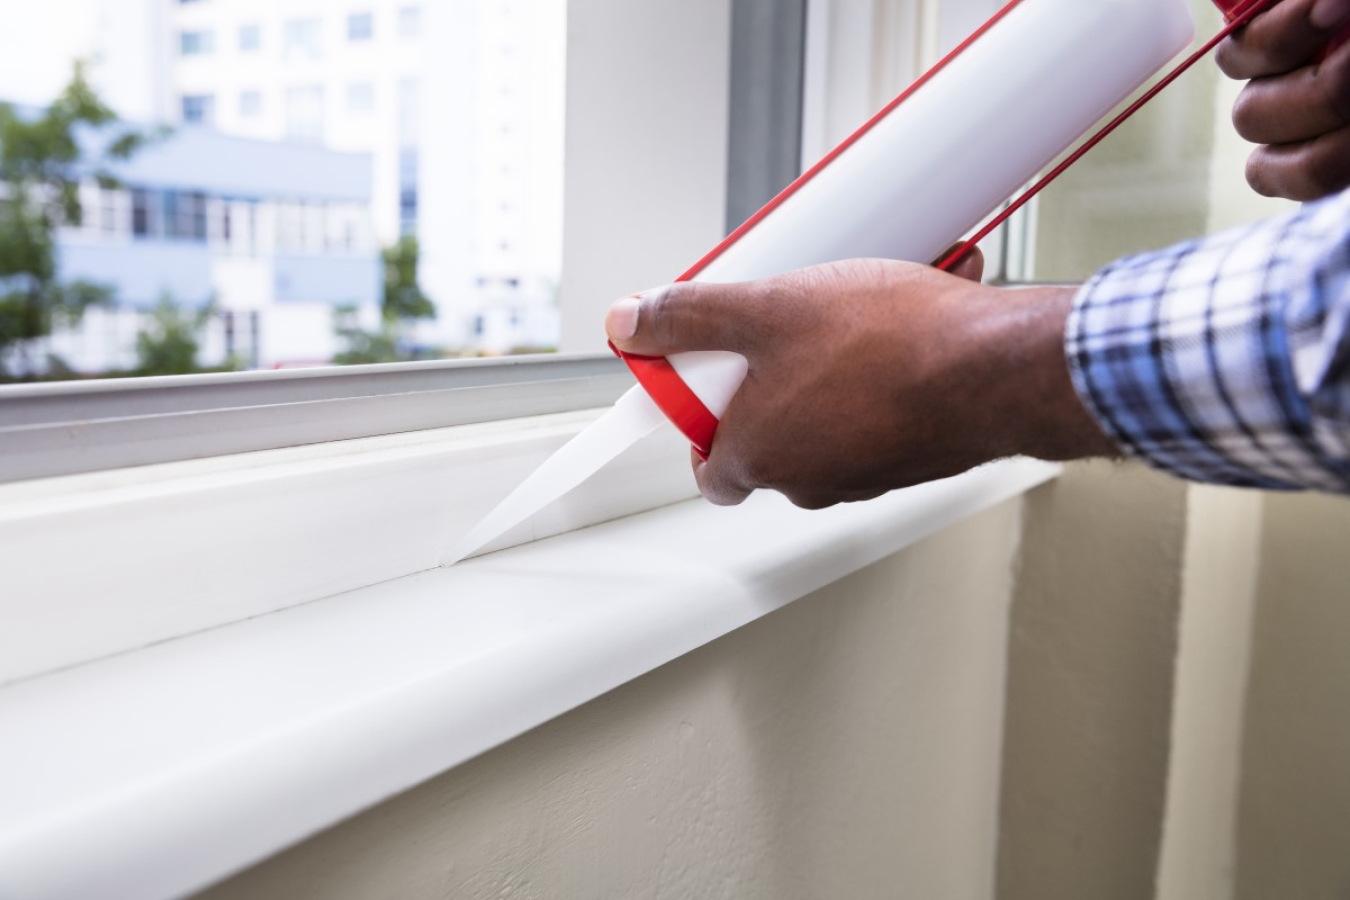
Hold the caulking gun at a 45-degree angle to the now-dried, clean edge that’s to be filled.
Hold the gun at a consistent angle and while pulling toward you, slide the tube nozzle along the joint while pulling the trigger of the caulk gun to apply the material. You know you've got the right angle when the caulk is immediately forced into the crack as it comes out of the tube. Try to avoid stops and starts by caulking in one straight continuous stream.
-
"Tool" the caulk by pushing it into the crack.
Once you’ve covered 2-3 feet of the surface with a bead of caulk, dampen your finger (or spoon, piece of wood or foam paintbrush if you don’t want the material to touch your hand) and glide over the bead, pushing the caulk into the crack and forcing the caulk deeper into the crack.
-
Clean up any mistakes or excess caulk with a damp rag.
Make sure to take care of any problem areas right away, since dried caulk is much harder to clean up later.
-
Allow the caulk to dry according to the directions on the package.
It usually takes about 24 hours for the caulk to fully cure, but this can depend on air temperature and humidity.
Subscribe to receive updates from Energy Saver, including new blogs, updated content, and seasonal energy saving tips for consumers and homeowners.